Showing posts with label Loot Bags. Show all posts

Sunday, December 20, 2009

Stamped Pirate Loot Bags

Loot bags


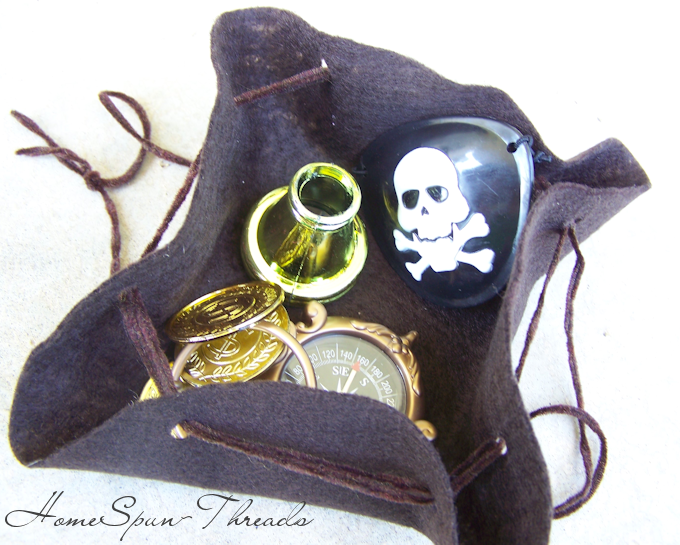
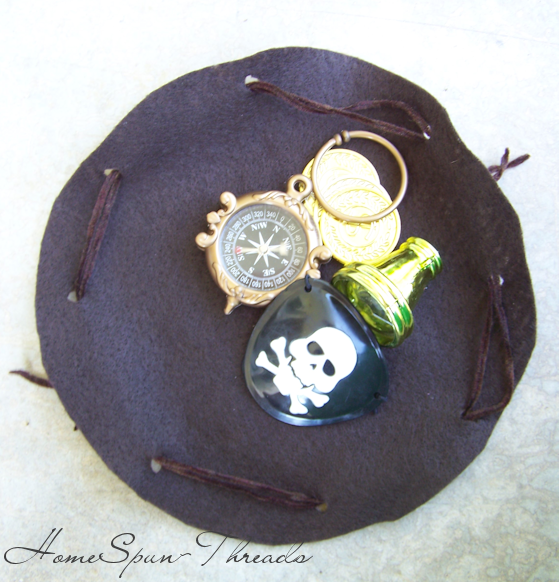
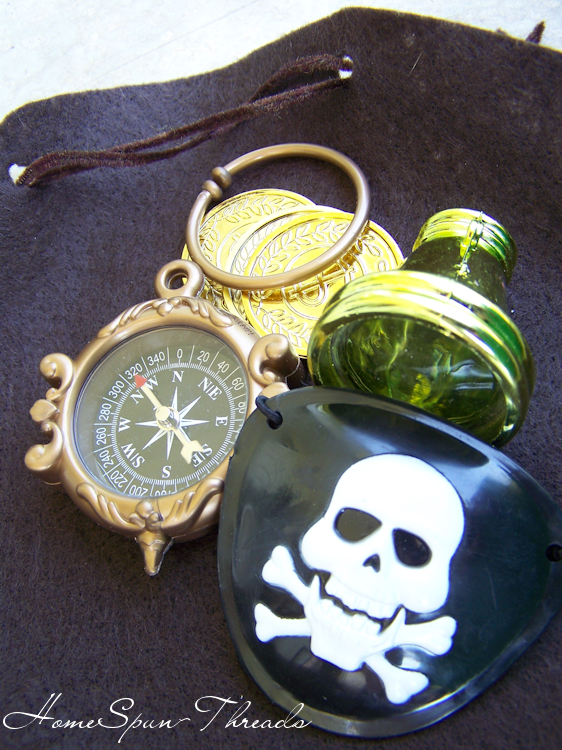
Two new sets from Cornish Heritage Farms, available today! Pirates are a hot commodity right now, well, at least the romantic notion of them. Not sure I would want to be paid a visit by the real thing, ykwim? So, if you like a realistic set, then Shiver Me Timbers fits the bill. I decided on a booty bag of chocolate coins for this set. Wouldn't this be a fun hand delivered invitation to a pirate themed party or a perfect bag of "gold" for the winner of a party game?

Supplies: Muslin, sewing machine, Cotton cording (jewelry dept at Joanne's), Palette Noir and Burnt Umber ink, Distress Vintage Photo ink, Small shipping tag, Chocolate coins

Pirates, done by Kim Hughes for CHF, fit the fun and whimsical style. This set, Ahoy Matey, is the SOTM set and available for a limited time. I made this card and was going to mail it to Brett, you know how kids love mail....instead, I left it with his teacher to put on his desk to wish him a great day. Inside reads:
You're a treasure. (with the miniature crossbones stamped next to the sentiment).

Monday, December 7, 2009

Pirate party favor pouch

DIY: Pirate Party Favor that they will LOVE!


When I was trying to come up with some cute and very cheap party favors for the little pirates coming to the birthday party, I searched high and low and finally found some little items but I needed something to put them in.  I remembered my little one coming home from church with a felt pouch they made to put stones in.


So, I called on a friend who came through and brought me the left overs from the lesson and boy was I excited.  These are super easy to make and take very little time and are PERFECT for giving away their favors in.


Cut a felt circle with a 9" diameter.  My friend said to fold it in half and cut a semicircle and she highly recommended using quilters guides to make them come out even.  Then punch 8 evenly spaced holes around the circle.  I have a massive hole punch but a standard one will work.


Then roughly lay out a piece of string and cut it to length so that you can run it through all eight holes and have plenty left to tie the strings together in a knot.  Run the string all the way around and tie.  Bot ends should come out on the same side of the felt circle.  Now, on the opposite end of your circle run your string through all the way around and tie in a not like before.  You will have two knotted ends on both sides of your circle.  When you pull the knotted strings, you will have this.


Now, just fine some really great fillers and through them all into the pouch and they are ready to give.